Sewing Saturday - Make Your Own Apron (Part of Crafting a Creative Summer)

Today I’ll be sharing a basic pattern for how to make an apron. It is a great beginner project and doesn’t require a lot of supplies, it might not even take you very long, once you pick out your fabric that is!
Supply list:
Approximately 1 meter (or yard) of a medium to heavyweight fabric
Thread in a coordinating colour
Approximately 3meters (or yards) of coordinating 1.5cm (5/8in) ribbon or strapping (This is for the ties you can also use fabric to make these)
Tools list:
Scissors
Cutting mat and rotary cutter (optional)
Marking pencil, chalk or similar
Pins or sewing clips
Iron & Ironing Board
Sewing machine (You can sew this project by hand instead, but it will take longer.)
Directions:
Before you begin, remember to wash, dry and iron your fabric.
Cut two 50cm(20in) wide by 70cm(28in) long rectangles. (If you want your apron longer you can increase the length, also be mindful of directional patterns when cutting!)
Fold both rectangles in half so that long sides are together. (You can fold them both together as you will want them to be the same after cutting.)
Mark a point 14cm (5.5in) in from the fold along the top edge of the rectangle, then mark a point 25cm (10in) from the top on the outside edge (away from the fold), make a gentle curve to join these two points, you can use a French curve or other curve guide if you have one.
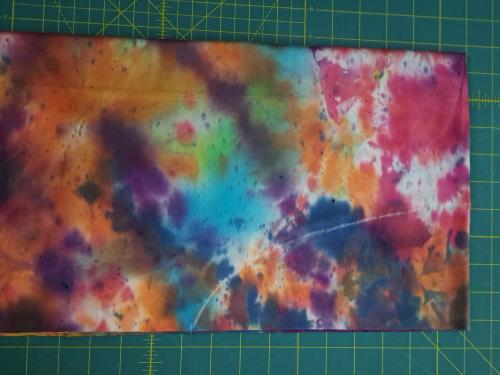
[image shows the curve marked on my fabric, the folded edge is at the top of the image]
Cut along the curve you just marked and discard the smaller pieces. You now have your apron front and back pieces.
Next you will need to cut two 90cm (36in) lengths of ribbon and two 45cm (18in) lengths of ribbon. These will be your ties. Remember to heat seal ribbon to avoid fraying (I use a tealight candle and very carefully melt the ends but it’s important to be extremely careful there are also special heated scissors made for cutting ribbon.)
Carefully pin the two shorter pieces of ribbon 2cm (3/4in) in from the corner along the top of the right side of your apron front. Pin the longer pieces of ribbon 2cm (3/4in) down from the corner just below the armpit curve.
Tack ribbons in place, do not back stitch, we will remove these threads later.
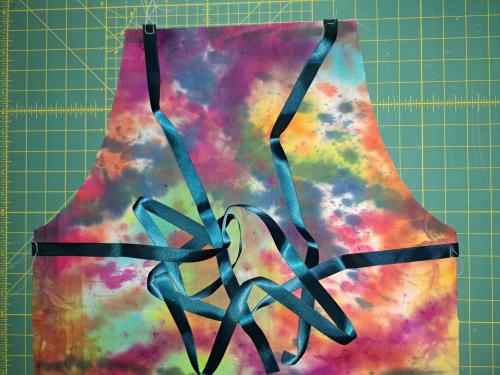
[image shows the above step]
With right sides together, pin or clip around the outer edge of your apron, making sure all the ribbon is inside and away from the seam allowance.
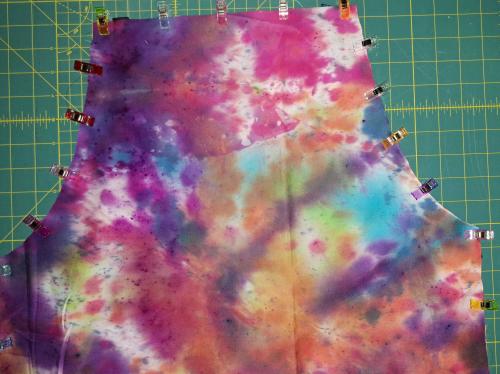
[image shows the above step]
Using a ½ in seam allowance, sew around the entire apron, leaving a large gap open at the bottom for turning it right side out. (Remember to backstitch at the start and end of your sewing, and be careful not to sew the long/free ends of your ribbons!)
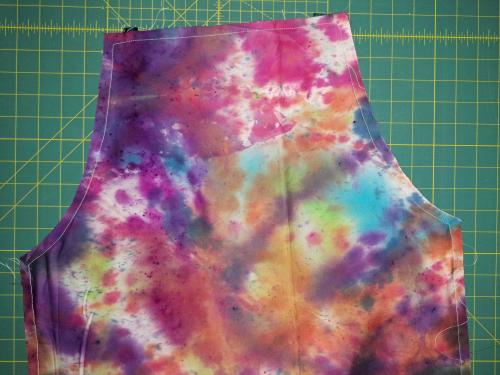
[image shows the above step]
At this point you can remove the threads from tacking the ribbons in place, it’s also important to clip corners and snip along curves perpendicular to your sewing to ensure your curved edges will lay flat after turning.
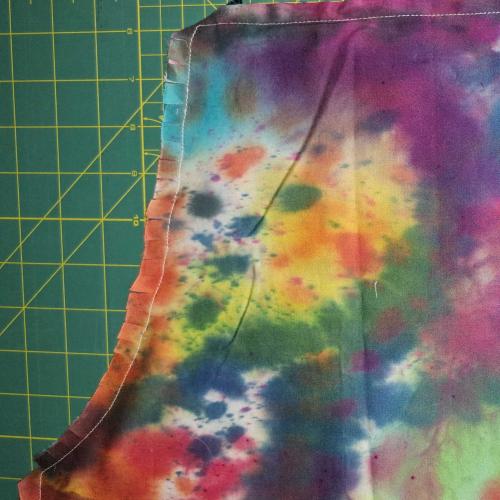
[image shows the above step]
Now it’s time to turn your apron right side out, pay extra attention to corners and curves to ensure they are fully turned. It can also be useful at this step to iron your apron paying careful attention to the curves and corners. At this step you will also turn the seam allowance along the gap at the bottom of your apron to the inside as we will be sewing this shut in our next step.
Pin or clip around the perimeter of the apron to ensure the front and back won’t shift when we topstitch around it.
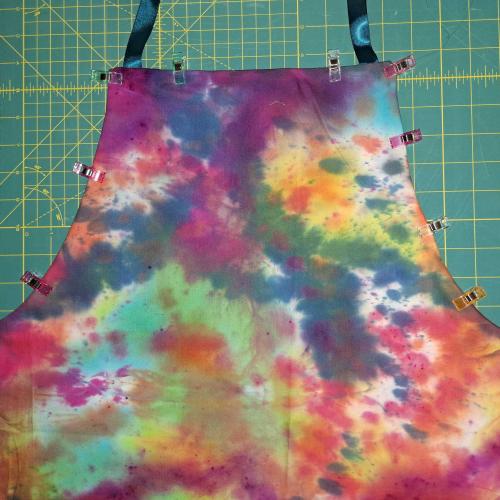
[image shows the above step]
Topstitch around the entire perimeter of your apron 1/4in from the outside edge. Be careful to ensure that your ribbon ties now stay outside and do not get topstitched. (Don’t forget to backstitch!)
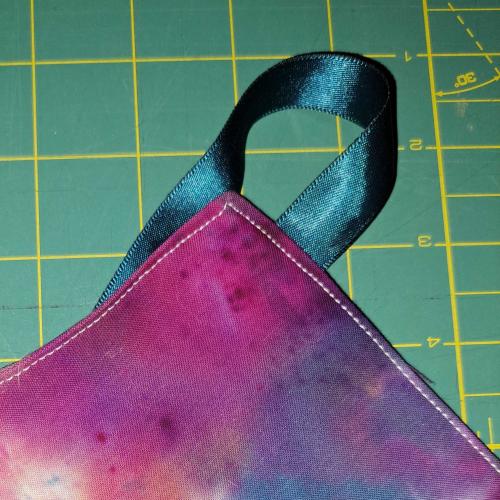
[image shows the above step]
Your apron is now complete!
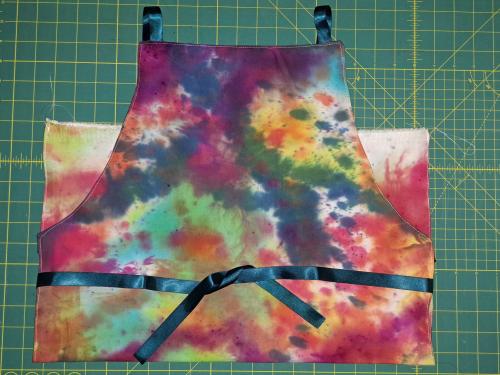
[image shows the finished apron]
Do you think you will sew your own apron?
What would you want to add to your apron if you could?
Part of Crafting a Creative Summer
@EmotionsListener
emo make so fast 😮😮Like apron that look cool tie dye but still nahoa like butterfly one to 😛 if nahoa make own want big pocket !

@EmotionsListener thatsss soo coooll 🥺💜 you did a great job frr 🥺💜
@EmotionsListener
Do you think you will sew your own apron?
I sewed my own apron my freshman year of highschool in Home Economic class. I learned that I do not have a talent of using a sewing machine. (making it go straight). But it was a lot of fun.
@SwordsandPens
While I can sew a relatively straight line on my own, I recently got something that makes it sew-much easier to sew in a straight line. 😂 It's a magnetic seam guide that you place on top of your sewing machine, I wasn't sure how much it would help at first, but I'm glad I decided to try it.

@EmotionsListener i had a red-white checkered apron as a child with a cute ladybug embroidered on it. I was never allowed to use it because it was too nice, so now as an adult, I want a yellow checkered one with a little sunflower cross stitch (and am totally stealing the red one for my future daughter)

@EmotionsListener Love this! Very tie-dye